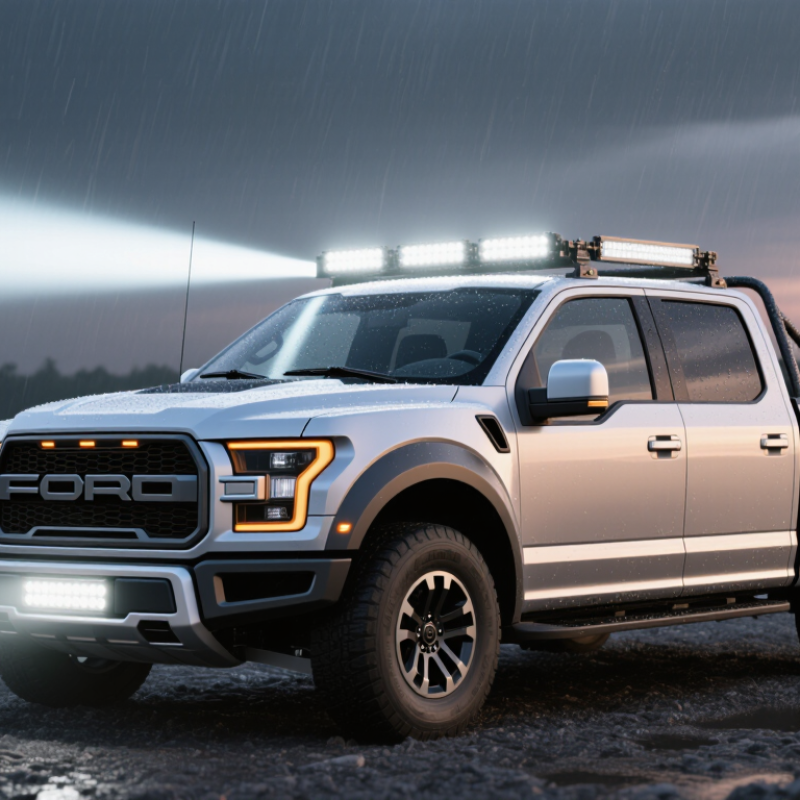
| Choose by intended use | Driving conditions, mounting space, beam pattern, and verified light output | For trail use, a wide flood pattern can illuminate nearby terrain; a spot or combo pattern projects farther. Compare independent test results where available rather than relying only on advertised lumens. | Off-road suitability does not automatically mean the light is approved for use on public roads. |
| Beam pattern | Flood, spot, or combination optics | Flood beams spread light over a wide area; spot beams concentrate light farther ahead. A combination bar uses both types, but beam shape and cutoff depend on the specific design. | A beam that causes glare or shines into other drivers’ eyes may be unsafe and may violate local requirements. |
| Electrical load | Rated input voltage, current draw, and power consumption | Use the light’s stated electrical specifications. Estimate current with I = P ÷ V; for example, a 120 W light draws about 10 A at 12 V under ideal conditions. Actual draw varies by product and operating voltage. | Do not assume a vehicle’s existing wiring or accessory circuit can safely handle the added load. |
| Mounting and aim | Bracket strength, vibration resistance, clearance, and adjustment range | Mount to a suitable structural point using hardware rated for the application. Check clearance from the grille, radiator, moving parts, and any sensors; secure fasteners and aim the beam away from oncoming traffic. | Local rules may restrict mounting position, number of auxiliary lamps, covers, or lamp height. |
| Wiring and protection | Fuse, relay or approved switching method, wire capacity, and weather sealing | Follow the light manufacturer’s wiring diagram. Use a correctly rated fuse close to the power source, suitable wire for the current and cable run, sealed connectors where exposed, and a properly protected route away from heat and abrasion. | Keep wiring secure and ensure installation does not interfere with required vehicle lights or controls. |
| Road-lighting regulations | Rules for auxiliary lamps in the vehicle’s jurisdiction | Requirements differ by country, state, and province. Check current local vehicle codes and inspection guidance for permitted colors, positioning, switching, covers, and use on public roads. | When legality is uncertain, switch off or cover the auxiliary light on public roads and use only lighting permitted for that vehicle and location. |
| Weather and durability | Ingress protection rating, housing material, lens, and operating-temperature range | Check the product’s documented protection rating and installation instructions. A rating describes specified test conditions; it does not guarantee protection from every form of water, impact, or corrosion. | Inspect the lamp and wiring after severe weather, off-road impacts, or vehicle washing. |
| Routine maintenance | Lens condition, fasteners, connectors, wiring, and beam aim | Clean the lens with a non-abrasive cloth and suitable cleaner. Periodically check for cracks, water ingress, loose brackets, corrosion, damaged insulation, and changes in beam direction. | Repair faults promptly and do not use a damaged lamp that produces uncontrolled glare or exposed wiring. |
| Before buying | Fitment, warranty terms, instructions, and independently verifiable specifications | Measure the intended mounting area and confirm voltage compatibility, bracket dimensions, cable length, and the manufacturer’s installation and maintenance requirements. | Confirm road-use approval separately; brightness or a product’s marketing description is not proof of legal compliance. |

.svg)