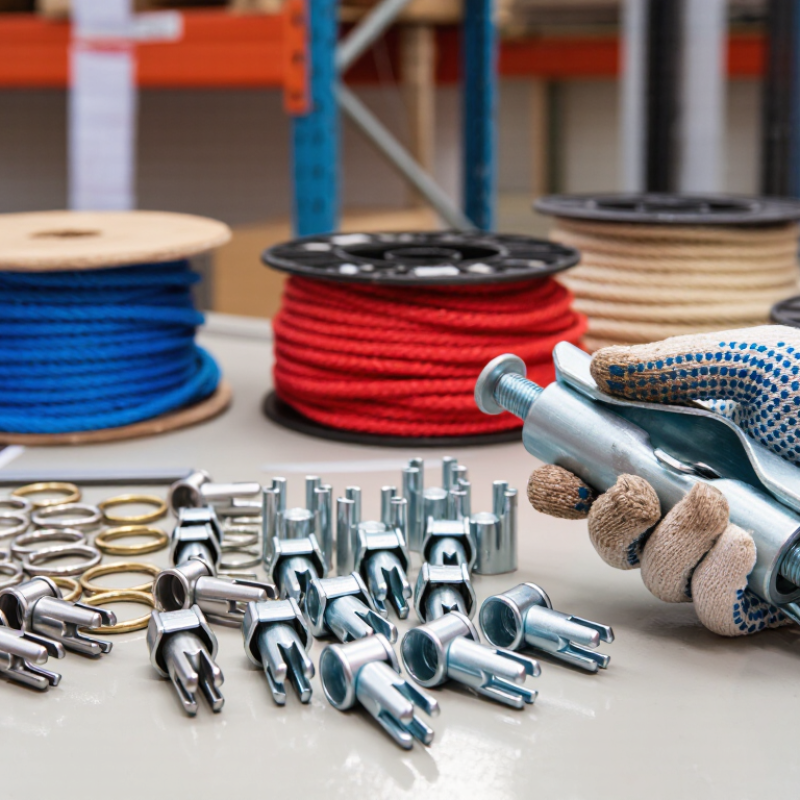
| 1. Match the clip to the rope diameter | Confirm the rope’s measured diameter and the clip’s stated compatible range. | Check the product specification rather than relying on a visual estimate. A clip that is too small may not seat correctly; one that is too large may not grip as intended. | Correct sizing supports proper fit and helps prevent slippage or damage to the rope. |
| 2. Confirm rope type and construction | Identify whether the rope is wire rope, synthetic rope, or another construction, and check the clip’s stated compatibility. | Wire-rope clips are not automatically suitable for fiber ropes. For wire rope, confirm that the clip is intended for the rope’s construction and lay where specified. | Different materials and constructions respond differently to clamping pressure and hardware geometry. |
| 3. Verify load rating and intended use | Look for documented working-load information, application limits, and installation requirements. | Do not treat a breaking strength as a working-load limit. For lifting, fall protection, or other life-safety applications, use only equipment specifically approved for that purpose and follow applicable rules. | Ratings and use restrictions vary by product and application; a general-purpose clip may not be suitable for safety-critical work. |
| 4. Check material and operating environment | Compare clip material and finish with exposure to moisture, salt, chemicals, temperature, and corrosion. | For outdoor or marine environments, verify corrosion-resistance information and compatibility with the rope and connected hardware. Avoid assuming that similar-looking metals are compatible. | Corrosion and material incompatibility can weaken hardware or make inspection and removal more difficult. |
| 5. Inspect geometry and clearance | Check the opening, body shape, connection points, and available room around the rope and adjacent hardware. | Confirm that the clip can be positioned without forcing the rope into a sharp bend or interfering with the rope’s movement, termination, or nearby fittings. | A correct diameter alone does not guarantee that the clip will fit the installation or operate freely. |
| 6. Assess installation and adjustment | Review the required tools, fasteners, tightening method, and any specified torque or re-tightening steps. | Choose a design that can be installed and checked with the tools available. Follow the manufacturer’s instructions; for traditional U-bolt wire-rope clips, orientation and spacing instructions are important. | Incorrect installation can reduce holding performance. Installation details can differ between clip designs. |
| 7. Plan for inspection and replacement | Check whether wear, corrosion, deformation, or loosening can be seen during routine inspection. | Before purchase, confirm how the clip should be inspected and when it should be removed from service. Replace hardware that is cracked, badly corroded, distorted, or otherwise outside its instructions. | Accessible inspection helps users identify damage or movement before continued use creates greater risk. |

.svg)