| 1. Match the snap to the fabric | Ring-spring snap | A circular spring ring inside the socket grips the stud and provides the opening resistance. | Shirts, lightweight jackets, babywear, craft projects | Set through pre-punched fabric holes with a cap, socket, stud, and post. | Easy to moderate | Snap-setting pliers or a hand setter and anvil | Confirm that the post length suits the compressed fabric thickness. |
| 2. Choose stronger closure action when needed | S-spring snap | An S-shaped spring inside the socket creates friction against the stud for a firm closure. | Medium-weight garments, bags, covers, and utility sewing | Install the four parts in the correct orientation and compress the post evenly. | Moderate | Dedicated setter and matching die or anvil | Check that the spring is seated correctly and that the set does not over-compress the fabric. |
| 3. Prioritize simple home installation | Sew-on metal snap | The socket and stud have small holes and are secured directly with thread rather than a post. | Delicate fabrics, repairs, linings, and areas where tools cannot reach | Position each half and stitch through all attachment holes with secure thread. | Very easy | Needle, thread, scissors, and a marking tool | Look for smooth edges, evenly spaced holes, and a socket that matches the stud size. |
| 4. Use screw hardware for removable panels | Screw-in snap | A threaded stud or base fastens into a solid substrate, while the mating snap provides the closure. | Marine covers, upholstery, outdoor panels, and removable enclosures | Mark locations, drill a suitable pilot hole when necessary, and tighten without stripping the thread. | Moderate | Screwdriver, drill, pilot bit, and measuring tool | Check thread type, screw length, substrate thickness, and corrosion resistance. |
| 5. Select a prong style for fast production | Prong or toothed snap | Prongs pass through the material and are folded or compressed around a washer or mating component. | Medium-weight textiles, accessories, packaging, and light industrial covers | Pierce the material, align the parts, and press or hammer the prongs into place. | Moderate | Hand press, setting die, or compatible pliers | Verify that the prong length is suitable; excessive length can distort or damage fabric. |
| 6. Compare holding strength with opening effort | Standard versus heavy-duty snap | Larger components and stronger springs generally increase resistance to accidental opening, but require more force to release. | Standard: clothing and crafts; heavy-duty: bags, equipment covers, and outdoor gear | Both use a cap, socket, stud, and post, but heavy-duty versions need more accurate setting pressure. | Easy to difficult | Pliers for light sets; press and dies for heavier sets | Choose the lowest closing force that will reliably resist the expected load. |
| 7. Check material compatibility | Brass, stainless steel, or plated steel snap | The base metal and surface finish affect corrosion resistance, strength, appearance, and potential staining. | Brass: decorative use; stainless steel: moisture exposure; plated steel: general indoor use | Installation is similar, but harder metals may require stronger and more precise setting tools. | Easy to moderate | Tool choice depends on snap construction and material thickness. | For saltwater or frequent washing, favor corrosion-resistant metal and a compatible finish. |
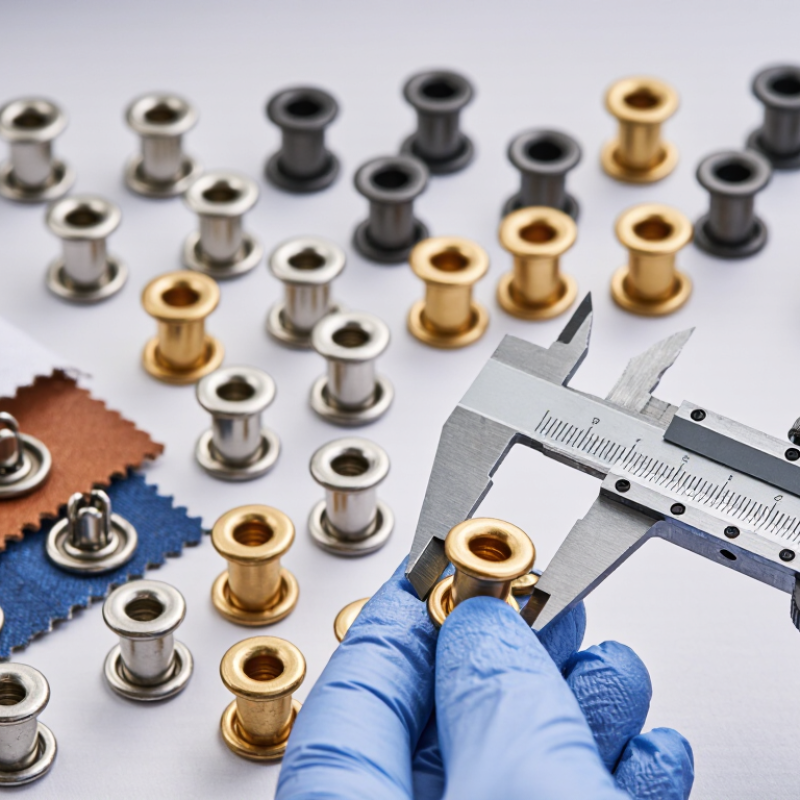
| 8. Measure the compressed thickness | Short-post or long-post snap | The post must extend far enough through the assembled layers to form a secure clinch without crushing the material. | Single-layer fabric, folded hems, leather, canvas, and padded assemblies | Measure all layers after folding or reinforcing, then select the matching post length. | Easy, but precision is important | Ruler or caliper, hole punch, and setter | Avoid posts that are too short to clinch or too long to fold cleanly. |
| 9. Inspect the setting tool alignment | Hand-set versus press-set snap | Hand tools use manual impact or leverage; presses apply more controlled and repeatable pressure. | Hand setting: occasional repairs; press setting: repeated or production installations | Center the cap, socket, stud, and die before applying force to prevent crooked setting. | Moderate to easy | Hammer and anvil, pliers, or a manual press with matching dies | Use dies designed for the exact snap profile; mismatched dies can deform the socket. |
| 10. Test before buying in bulk | Complete compatible snap set | A snap only functions correctly when the cap, socket, stud, post, washer, and installation tool are mutually compatible. | Any project involving multiple layers, repeated opening, or a visible finished surface | Install several samples, open and close them repeatedly, and inspect the fabric for tearing or distortion. | Easy and highly recommended | The intended installation tool plus a small sample of the final material | Check alignment, holding force, release effort, finish quality, and corrosion after the planned care process. |

.svg)