| 1 | Define the Membrane Function | Confirm whether the product is intended to control water, air, vapor, wind, or a combination of these functions. | A water-resistive barrier, air barrier, vapor retarder, and roof underlay perform different roles and should not be treated as interchangeable. | Using the wrong membrane can trap moisture, allow air leakage, or permit water penetration. | Match the product function to the wall, roof, floor, or foundation assembly before comparing prices. |
| 2 | Verify Material Quality | Review the polymer or sheet construction, thickness consistency, reinforcement, surface finish, roll dimensions, and visible defects. | The technical data sheet should state composition, nominal thickness or mass per unit area, dimensional tolerances, and test methods. | Consistent material quality improves installation reliability and reduces weak points at overlaps and penetrations. | Inspect sample rolls for pinholes, cracks, delamination, brittle areas, and uneven coating before purchase. |
| 3 | Check Water Resistance | Look for liquid-water resistance, hydrostatic pressure, water-tightness, or water-penetration test results appropriate to the application. | For roofing and exterior wall use, select a membrane tested to the relevant product standard and rated for the expected exposure conditions. | A membrane may resist vapor diffusion yet still fail to stop liquid water if its seams or surface are not water-resistant. | Check the complete system, including laps, tapes, sealants, fasteners, and flashing details. |
| 4 | Evaluate Vapor Permeance | Compare the membrane’s vapor permeance with the climate, interior humidity, insulation position, and drying direction of the assembly. | In U.S. practice, Class I vapor retarders are ≤ 0.1 perm, Class II are > 0.1 to 1.0 perm, and Class III are > 1.0 to 10 perm. | Excessive vapor resistance on the wrong side of an assembly can increase the risk of condensation and trapped moisture. | Use a hygrothermal assessment or local building-code guidance for cold, mixed, hot-humid, and marine climates. |
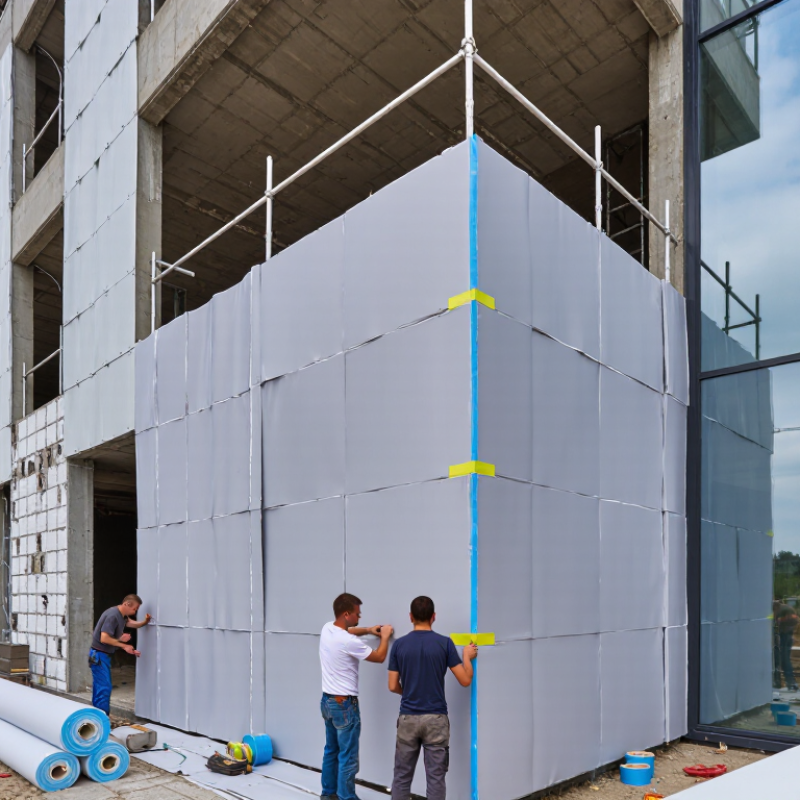
| 5 | Assess Air-Tightness | Review air-leakage performance and determine whether the membrane is designed to form a continuous air-control layer. | The air barrier should be continuous, durable, and sealed at joints, corners, service penetrations, windows, and changes in plane. | Air leakage can transport heat and moisture through the assembly even when the insulation itself has a high thermal resistance. | Use compatible tapes, gaskets, primers, and sealants, and require continuity checks during installation. |
| 6 | Confirm Mechanical Durability | Check tensile strength, tear resistance, puncture resistance, elongation, flexibility, and resistance to damage from fasteners or job-site handling. | Performance should be reported using recognized test methods such as ASTM, EN, or ISO methods relevant to the membrane type. | Low tear or puncture resistance can create hidden openings that are difficult to locate after the insulation and cladding are installed. | Choose a stronger grade for exposed construction periods, rough substrates, high-wind areas, and frequent foot traffic. |
| 7 | Review UV and Weather Exposure | Check the permitted duration of exposure to sunlight, rain, wind, temperature changes, and construction delays. | UV-exposure limits are product-specific; the installation guide should state the maximum allowable uncovered period. | Some membranes lose strength or become difficult to seal after prolonged ultraviolet exposure. | Plan cladding or roofing installation within the stated exposure period and replace visibly degraded material. |
| 8 | Check Fire and Health Safety | Review reaction-to-fire classification, flame-spread information, smoke requirements, chemical emissions, and safe handling instructions. | Fire performance depends on the membrane and the complete wall or roof assembly; confirm compliance with the applicable local code. | Combustibility, smoke generation, and chemical exposure can affect occupant safety and the approval of the assembly. | Request current fire-test documentation and safety data, and follow ventilation and personal-protection requirements during installation. |
| 9 | Test Compatibility | Confirm compatibility with insulation, wood, concrete, masonry, metal, roofing sheets, cladding, adhesives, tapes, sealants, and treatment chemicals. | The membrane manufacturer’s installation documentation should identify approved primers, adhesives, tapes, sealants, and substrate conditions. | Plasticizers, solvents, oils, alkaline surfaces, or incompatible adhesives may weaken the membrane or its bond. | Carry out a small adhesion and chemical-compatibility test whenever materials, substrates, or accessories are not explicitly listed. |
| 10 | Verify Installation and Long-Term Serviceability | Review installation temperature, overlap width, fastening pattern, seam treatment, repair method, storage conditions, and expected service environment. | The system should include documented details for laps, penetrations, corners, transitions, drainage, repairs, and replacement access. | A high-performing membrane can fail if it is installed with inadequate overlaps, unsupported joints, or unsealed penetrations. | Use an approved installation method, train installers, document inspections, and store rolls dry, protected, and off the ground. |

.svg)