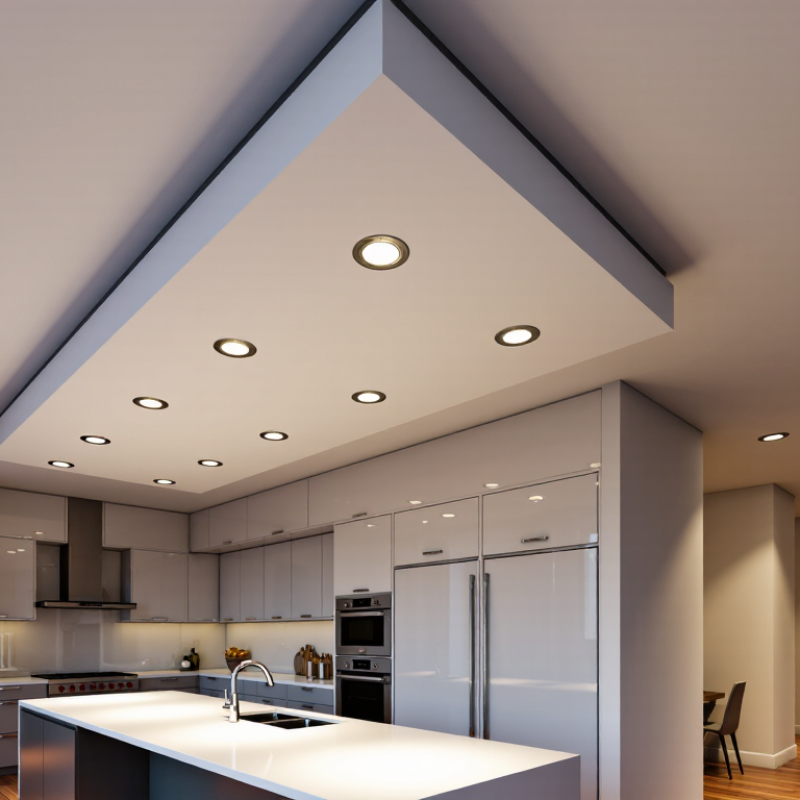
| 1 | Measure the Ceiling Height | Use the finished floor-to-ceiling height as the starting point for spacing and beam calculations. | For an 8 ft ceiling, the maximum spacing based on the 1.5× guideline is approximately 12 ft. | Measure after flooring and ceiling finishes are included. |
| 2 | Set a Spacing Limit | Keep fixture-to-fixture spacing at or below 1.5 times the ceiling height to help reduce dark areas between downlights. | 9 ft ceiling × 1.5 = maximum guideline spacing of 13.5 ft. | Treat 1.5× as a planning limit, not a substitute for a photometric layout. |
| 3 | Choose the Beam Angle | Narrow beams create higher intensity over smaller areas; wide beams distribute light more evenly over larger areas. | Use approximately 24°–40° for accenting and 50°–90° for general ambient lighting. | Confirm the manufacturer’s beam-angle definition and photometric data. |
| 4 | Match Beam Width to Spacing | A wider beam generally supports greater coverage, while a narrow beam requires closer spacing to avoid visible gaps. | At a 9 ft mounting height, a nominal 60° beam produces a theoretical diameter of about 10.4 ft. | Compare the beam diameter with the proposed spacing at the actual mounting height. |
| 5 | Use the Beam-Diameter Formula | Approximate beam diameter using: D = 2 × H × tan(θ ÷ 2), where H is mounting height and θ is beam angle. | For H = 8 ft and θ = 40°: D ≈ 5.8 ft. | The result is theoretical; lens shape, trim, glare control, and usable light output also affect coverage. |
| 6 | Keep the First Row Away from Walls | Place the first row approximately half the intended fixture spacing from the wall for more balanced illumination. | With 8 ft fixture spacing, start the first row about 4 ft from the wall. | For artwork or vertical surfaces, a closer wall-wash layout may be more appropriate. |
| 7 | Consider the Room Function | Select beam angle, light output, and spacing according to the visual task rather than using one layout for every room. | Kitchens and work areas often need more uniform task lighting than bedrooms or circulation spaces. | Review the target illuminance, visual comfort, and local lighting requirements. |
| 8 | Check Light Output | Compare delivered lumens, not only the nominal wattage. Higher ceilings and darker finishes may require more useful lumens. | Two fixtures with the same wattage can provide different delivered lumens because of optical and driver efficiency. | Use tested lumen data and account for lumen depreciation over the product’s rated life. |
| 9 | Control Glare and Contrast | Use suitable shielding, trim, and beam control to reduce direct glare, especially in low-ceiling rooms and screen-viewing areas. | A deeper baffle or lower-glare optic can be preferable where occupants frequently look toward the ceiling. | Review glare ratings where available and avoid placing fixtures directly in a viewer’s line of sight. |
| 10 | Verify Dimming and Installation Conditions | Confirm ceiling cutout size, insulation rating, wet-location suitability, dimmer compatibility, and control requirements before purchase. | A damp or wet location requires a fixture specifically listed for that environment; insulation-contact requirements depend on the installation type. | Check electrical code requirements and use a qualified installer where required. |

.svg)